Bird Letter Opener
A friend asked me if I could forge her a letter opener shaped like a bird, I thought about it and decided that casting one would be better. Its aluminum so the blade will wear faster, but its a letter opener not a butcher knife so it will be OK as long as she doesn't open all the junk mail.
I started by creating a model in Fusion 360
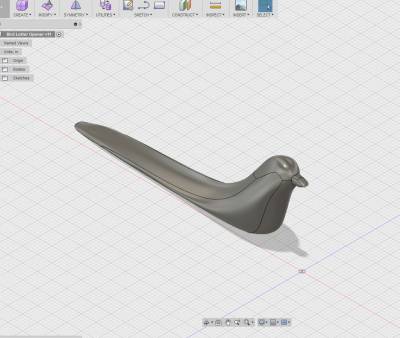
Then bought some castable wax filament for the 3D printer and printed the model. This process took a LONG time to get the setting close enough to work for me.
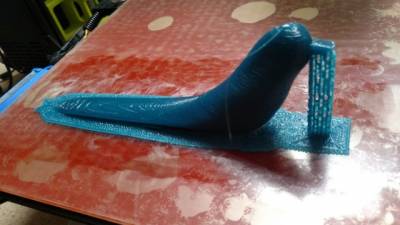
Then I sanded and cleaned up the print and tried to make a plaster of paris mold. Making the mold worked fine, but melting / burning the wax out caused it to fail…
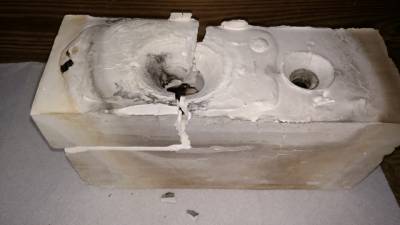
So I printed another one, sanded and cleaned it up, then with the help of Bob Sinclair, we created an investment mold and baked the wax out for 12 hours in his oven…
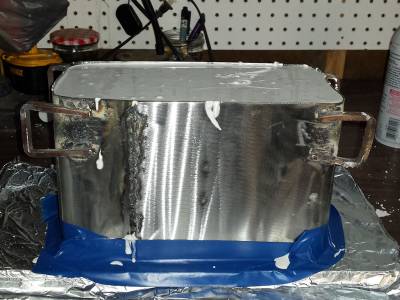
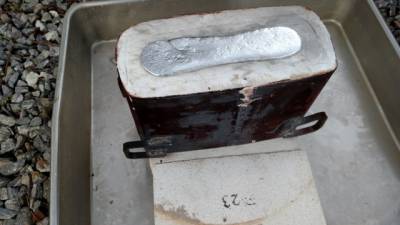
Then melted and poured the aluminum…
The result isnt what I hoped for, the surface texture should be smooth.
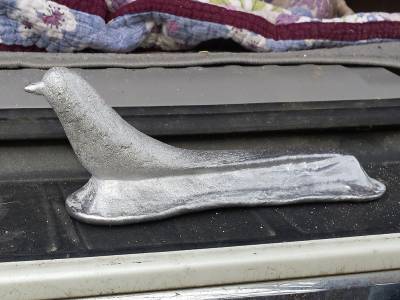
I think this happened because my sprue wasn't long enough and the aluminum in the resivoir froze before the bird cooled. Then as the bird cooled it was able to shrink and pull away from the mold surface.
But sometimes we are under a deadline like Christmas and we have to carry on. So I sanded and Dremmeled the casting until I got a descent finish. I didnt want to remove too much material so I left some of the pitting in the body. I ground the tail / blade at a slight angle so it looks like the vanes of a feather.
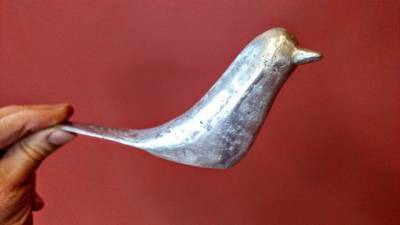
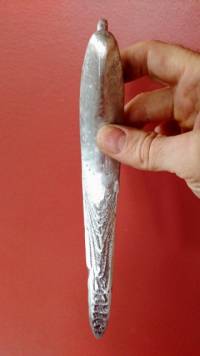
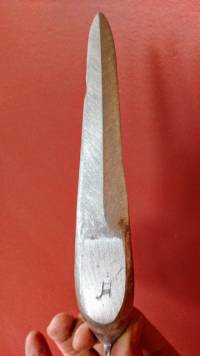
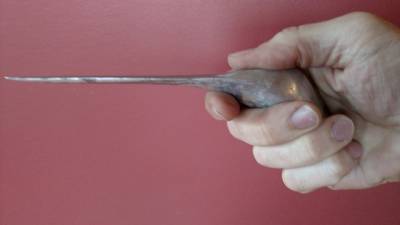
Over all I am happy with the end result. I am going to experiment with some lost foam casting of the same bird as an alternate method. I'll post those results later.

Then bought some castable wax filament for the 3D printer and printed the model. This process took a LONG time to get the setting close enough to work for me.

Then I sanded and cleaned up the print and tried to make a plaster of paris mold. Making the mold worked fine, but melting / burning the wax out caused it to fail…

So I printed another one, sanded and cleaned it up, then with the help of Bob Sinclair, we created an investment mold and baked the wax out for 12 hours in his oven…

Then melted and poured the aluminum…

The result isnt what I hoped for, the surface texture should be smooth.

I think this happened because my sprue wasn't long enough and the aluminum in the resivoir froze before the bird cooled. Then as the bird cooled it was able to shrink and pull away from the mold surface.
But sometimes we are under a deadline like Christmas and we have to carry on. So I sanded and Dremmeled the casting until I got a descent finish. I didnt want to remove too much material so I left some of the pitting in the body. I ground the tail / blade at a slight angle so it looks like the vanes of a feather.


Over all I am happy with the end result. I am going to experiment with some lost foam casting of the same bird as an alternate method. I'll post those results later.
What I learned
- The wax filament is difficult to work with
- Plaster does not make a reliable mold
- The wax filament does not melt out as easily as real casting wax
- Sprue design is very IMPORTANT
Comments
Post a Comment